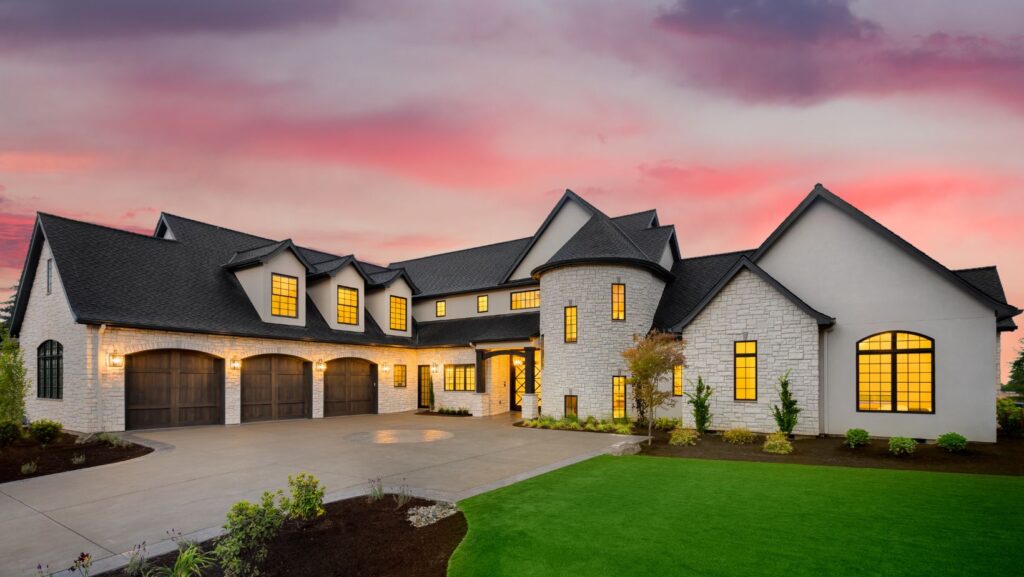
Home remodeling can feel overwhelming, choosing materials, finding contractors, managing budgets, and keeping projects on track all demand attention. But the right approach makes it manageable and rewarding. Optimal home remodeling starts with clear goals and honest budgeting, then flows into thoughtful design choices, quality material selection, and working with professionals who understand the vision. Whether someone’s renovating a kitchen, updating a bathroom, or tackling a whole-home redesign, the same principles apply: plan thoroughly, don’t skip prep work, and make decisions based on function first, aesthetics second. This guide walks through the essential steps to transform a space the right way.
Key Takeaways
- Define clear remodeling goals and establish an honest budget with a 15–20% contingency buffer to handle unexpected structural issues and material cost variations.
- Plan your design with function and lifestyle as the foundation, then layer in style preferences using mood boards to prevent costly mid-project changes and ensure decisions age well.
- Select materials based on actual room use and maintenance capacity—consider traffic, moisture exposure, and durability over trends, and prioritize quality finishes like LED lighting and proper primers in wet areas.
- Hire licensed professionals for structural work, electrical, plumbing, and HVAC; require detailed written estimates and building permits to ensure safety compliance and protect your investment during home remodeling.
- Establish clear communication with contractors through weekly check-ins and written change orders to control scope creep, which is a primary cause of budget overruns and timeline delays.
Define Your Remodeling Goals and Budget
Before picking paint colors or scrolling through tile options, nail down why the remodel is happening and what success looks like. Is the goal to improve function, increase home value, fix structural issues, or simply refresh outdated finishes? These answers shape every subsequent decision.
Next comes the honest budget conversation. Homeowners should research typical costs for their region and project scope, a kitchen remodel in a high-cost area might run $50,000 to $150,000 or more, while a bathroom can range from $10,000 to $50,000 depending on fixtures, labor, and structural changes. Factor in a contingency of 15–20% for unexpected issues (water damage, outdated wiring, structural surprises) that often surface once walls open. Without that buffer, a project stalls or gets cut short.
Allocate the budget proportionally: roughly 30% for labor, 50% for materials and finishes, and 20% for permits, inspections, and contingencies. But this ratio shifts based on whether the work is cosmetic (new cabinets, fixtures) or structural (moving walls, electrical, plumbing). Structural work costs more and takes longer. Be clear about wants versus needs, this helps when money tightens and trade-off decisions arrive.
Plan Your Design Vision With Purpose
A solid design plan prevents costly mid-project changes. Start by documenting the space: measure room dimensions, note natural light, identify traffic flow, and photograph existing conditions. These details inform layout, storage, and where investments matter most.
A good designer or architect translates the client’s lifestyle into function. Does the kitchen need to handle multiple cooks, or is it mainly one person’s domain? Will the bathroom serve a large family with competing schedules? Does the living space need flexible zones for work and relaxation? These questions drive decisions about layout, counter depth, storage, lighting, and circulation.
Gather Inspiration and Identify Your Style
Inspiration sources include design magazines, social media, showrooms, and neighbors’ homes. But inspiration without restraint leads to a mishmash. Instead, narrow the style: modern, traditional, farmhouse, transitional, or something else. Then look at specific materials, color palettes, and finishes within that style. A mood board (physical or digital) helps clarify what appeals and why. Does the homeowner prefer open shelving or closed cabinetry? Warm or cool lighting? High contrast or subtle color? These preferences guide the designer and help everyone stay aligned.
Remember that trends fade. Classic choices, quality materials, timeless colors, and functional layouts, age better than trendy tile or flash-in-the-pan fixtures. If someone loves a trendy element, save it for an accent or easily replaceable item rather than the focal wall or countertop.
Select Quality Materials and Finishes
Material choices affect durability, maintenance, cost, and aesthetic. There’s no single “best” option, it depends on use, climate, and longevity goals.
For cabinetry, solid wood, plywood boxes with veneered frames, or thermofoil all have trade-offs. Solid wood is durable and easy to refinish but costs more. Plywood is lighter on the wallet and stable: thermofoil is budget-friendly but prone to peeling in humid environments. Countertops range from laminate (budget, easy to clean, limited durability) to quartz (nonporous, low-maintenance, high cost), granite (beautiful, porous, requires sealing), and wood (warm, requires care and finishes).
Floor materials depend on the room. Ceramic tile and luxury vinyl plank (LVP) work well in bathrooms and kitchens where moisture matters. Hardwood suits living areas but is vulnerable to water. Carpet offers comfort in bedrooms but traps allergens. When choosing, consider traffic, moisture exposure, and realistic maintenance. A homeowner who hates vacuuming shouldn’t pick a light carpet with a low pile in a high-traffic area.
Lighting is critical but often underbudgeted. Layer ambient (overall), task (focused), and accent (decorative) lighting. Recessed lights provide clean ambient: under-cabinet lights aid kitchen prep: pendant lights add style and function. LED bulbs cost more upfront but last far longer and save on energy.
Paint, finishes, and trim tie everything together. Primer matters, a good primer (especially in kitchens and bathrooms where moisture is high) prevents staining and improves adhesion. Semi-gloss or satin finishes in wet areas resist mildew better than flat. Trim, crown molding, baseboards, door casings, is often overlooked but frames a room. Simple, classic trim styles age better than elaborate profiles.
Work With the Right Professionals
Knowing when to hire and who to hire separates successful remodels from frustrating ones. Cosmetic projects (painting, new hardware, simple tile) can be DIY with the right skills. Structural work (moving load-bearing walls, rewiring, replumbing, adding windows) absolutely needs licensed professionals and permits.
Choose a general contractor or designer based on experience, references, and alignment with the project scope. Check licenses and insurance: ask for a detailed written estimate that breaks down labor, materials, and timeline. Avoid contractors who demand full payment upfront or pressure quick decisions. A quality contractor builds in realistic timelines and communicates clearly about delays and changes.
If hiring separate trades (electrician, plumber, HVAC specialist), ensure they’re licensed and bonded. Building codes vary by jurisdiction, but most require permits for structural changes, electrical work beyond simple outlet replacement, and plumbing modifications. Permit inspections catch safety issues and protect the homeowner’s investment. Skipping permits to save time and money backfires when selling or making insurance claims.
Get everything in writing: the scope, cost, timeline, materials specified (don’t just say “granite”, specify grade, edge, and finish), payment schedule, and what happens if issues arise. Include a contingency clause for unforeseen conditions discovered during work.
Manage the Remodeling Timeline and Process
Realistic timelines reduce frustration. A minor bathroom refresh might take 2–4 weeks: a kitchen or major renovation can stretch 8–16 weeks depending on scope, material lead times, and inspection schedules. Always add buffer time for unexpected delays, equipment failures, inspection issues, supply chain hiccups, or hidden structural problems are normal.
Establish a communication routine: weekly check-ins, a shared project log, and clear protocols for change orders. When changes arise (the homeowner wants a different backsplash or spots rotted subfloor), get them in writing with updated cost and timeline impacts. Scope creep kills budgets and timelines, each “little change” compounds.
Demolition and site prep take longer than people expect. Protect adjacent areas with plastic and dust barriers, especially in occupied homes. Utility lines need to be located before any demolition (call 811 in the US). Asbestos, lead paint, or mold discovered during demolition require professional remediation, factor time and cost for these possibilities.
Inspections happen at specific stages: framing, electrical, plumbing, insulation, and final. These aren’t obstacles, they ensure the work meets code and protect the homeowner. A contractor who resists inspections is a red flag.
Final walkthrough before payment should address any punch-list items (missing caulk, hardware not installed, finish issues). Don’t release final payment until everything’s complete and documented.
Conclusion
Optimal home remodeling isn’t about fancy finishes, it’s about thoughtful planning, honest budgeting, quality materials, and working with trustworthy professionals. Start with clear goals and realistic timelines. Design with function and lifestyle in mind. Choose durable materials suited to the room’s actual use. Hire licensed contractors, pull permits, and inspect work. When these pieces align, the result is a space that works beautifully, lasts years, and feels worth the investment. The best remodels aren’t the most expensive: they’re the ones where every decision made sense.