Excavating around underground pipes can be risky. Improper digging methods can lead to punctured water lines, damaged gas pipes, or costly repairs to sewer systems. Whether you’re repairing a broken pipe, installing new infrastructure, or checking for potential issues, it’s essential to use safe and precise techniques to avoid damaging sensitive underground utilities. For many projects, Hydro Excavation Auckland offers a safe and effective solution by using high-pressure water and a vacuum system to expose buried pipes without causing damage. Here’s how to expose underground pipes the right way.
Step 1: Identify and Mark the Location of Utilities
Before starting any digging, you need to know exactly where the underground pipes are located, advises B&R Management Group. Guesswork can lead to dangerous accidents, so it’s important to take proper precautions.
How to locate underground pipes:
- Call utility location services: Most regions offer a service that will mark the location of underground utilities. Make sure this step is completed before any digging begins.
- Use utility maps: If you have access to property blueprints or site plans, use them to verify the general location of pipes.
- Mark the area: Use spray paint or flags to indicate where utilities are located, ensuring all workers are aware of the zones where caution is required.
Proper marking will help you plan where to dig and reduce the risk of accidentally striking pipes.
Step 2: Choose the Right Digging Method
The method you choose for excavation can make the difference between a successful project and costly damage. Traditional methods using backhoes or shovels can be too aggressive, especially when working near fragile or old infrastructure.
Why hydro excavation is ideal:
Hydro excavation uses high-pressure water to break up soil while a vacuum removes the debris. This non-invasive method is safer and more precise than traditional digging techniques. It minimizes the risk of damage to pipes and other buried utilities, making it the preferred option for exposing sensitive infrastructure.
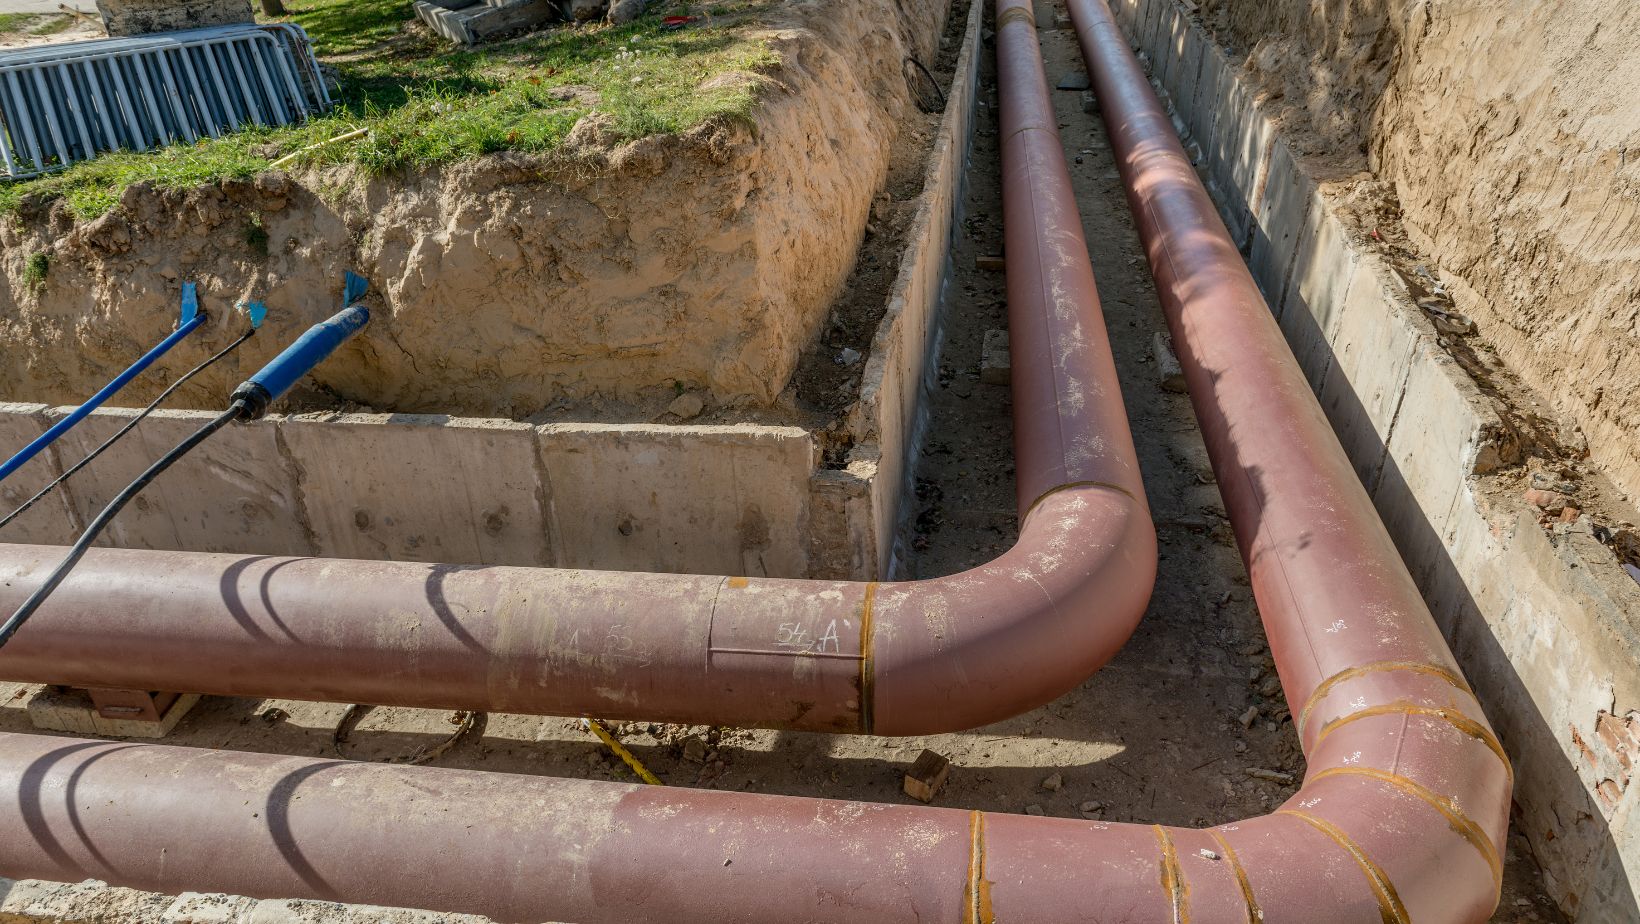
Hydro Excavation Auckland is commonly used in projects where utility lines are dense or when working near gas, water, or sewer lines. Its ability to precisely expose pipes without causing harm makes it ideal for both small and large-scale projects.
Step 3: Dig Slowly and Carefully
If hydro excavation is not an option, or if you’re working in a small area where manual digging is necessary, take extra precautions to avoid damaging pipes.
Manual digging tips:
- Use rounded shovels instead of sharp tools: This reduces the chance of puncturing or cracking pipes.
- Dig around the pipe, not directly above it: Expose the surrounding soil first to locate the exact position of the pipe.
- Remove small amounts of soil at a time: Slow and steady digging ensures you don’t accidentally strike a pipe.
When you get close to the pipe, switch to hand tools for more control and precision.
Step 4: Monitor Soil Conditions
Soil conditions can affect the ease and safety of excavation. Loose or wet soil can cause pipes to shift, increasing the risk of damage. Pay attention to how the soil behaves as you dig and adjust your approach as necessary.
Soil considerations:
- Loose soil: Dig with extra caution to avoid exposing pipes too quickly.
- Rocky soil: Rocks can damage pipes if not removed carefully, so take your time when digging through hard or compact soil.
- Waterlogged soil: Excess moisture can increase the risk of pipe movement. Consider using drainage systems or pumps to remove excess water before excavation.
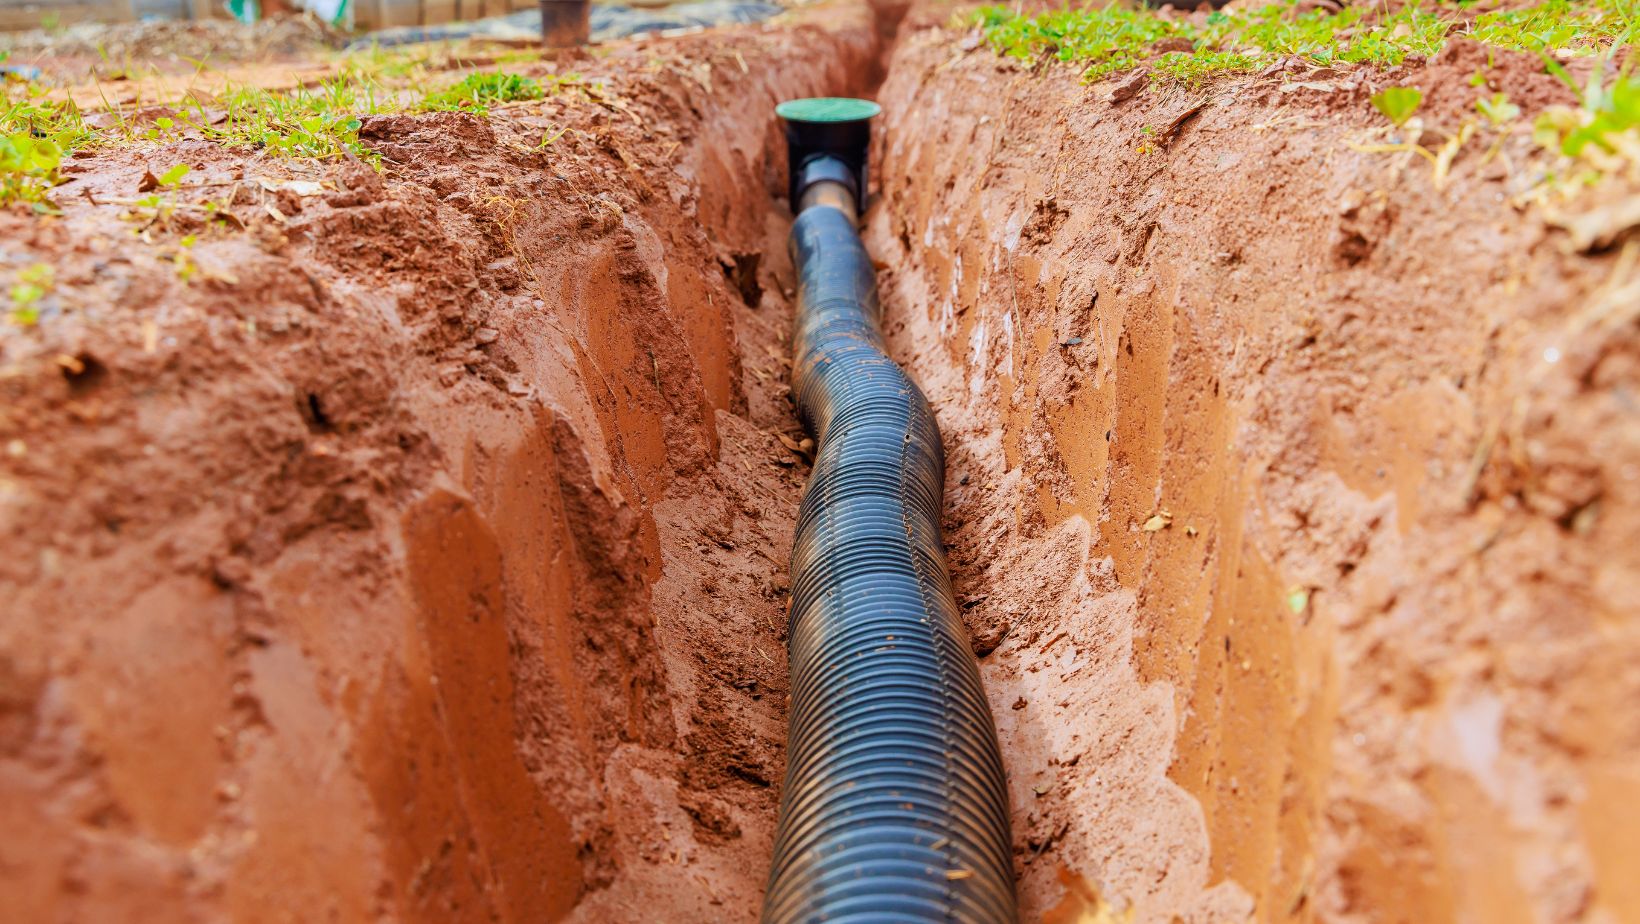
Step 5: Expose the Pipe Fully and Inspect It
Once you’ve located the pipe, continue digging until it is fully exposed. This allows you to inspect it for damage, corrosion, or leaks. Ensure that the pipe remains stable throughout the process and avoid placing heavy tools or equipment on it.
Inspection checklist:
- Check for visible cracks, rust, or weak spots.
- Look for signs of leaks, such as damp soil or unusual odors.
- If repairs are needed, take care to avoid further damage during the repair process.
Step 6: Protect the Pipe During Backfilling
After completing your work, it’s important to backfill the area properly to prevent future issues. Improper backfilling can cause pipes to shift or become damaged over time.
Backfilling tips:
- Use clean, loose soil or sand around the pipe to cushion it.
- Avoid using large rocks or debris, as they can put pressure on the pipe and cause damage.
- Compact the soil gently to avoid excessive pressure on the pipe.
Preventing Future Damage
Exposing underground pipes safely isn’t just about the current project—it’s also about preventing future issues. Document the location of the pipes and any repairs made so that future projects can proceed more smoothly. If you frequently need to expose utilities on your property, consider scheduling regular inspections or using hydro excavation for precise and safe digging.
With careful planning and the right techniques, you can expose underground pipes without breaking them, ensuring that your project is completed safely and efficiently.